MacBook Pro surgery
And so it begins. I removed the screws from my MacBook Pro and lifted the lid.
A quick touch of a ground plain (metal strip on the left near the battery) and I’m all set.
Memory upgrade first…
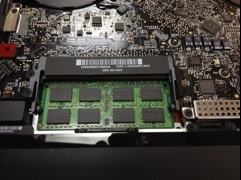
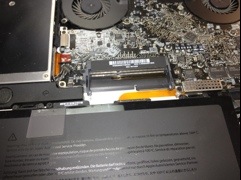
This is really simply. Remove the first memory card by gently pressing the plastic out to the sides, the card will pop up. From the it can be pulled out gently.
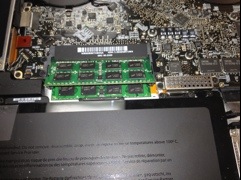
The second module will the be revealed. Repeat the same thing and that module will also pop up. You should be able to pull it out with ease. My lower memory module needed a little more bruit for e to pull it out, but it wasn’t enough to make me think it was out of the ordinary. The problem was the the clips for the top module were making it a little awkward.
Once the ram was removed it was a simple process to push the new memory into its newfound home.
Next my attention turned to the cause of the problem. The hard drive.
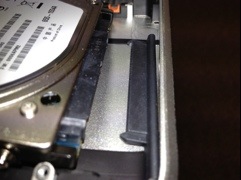
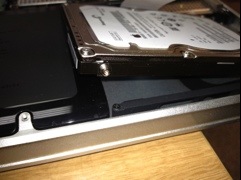
Just two screws to remove and a clamp is released. This allowed me to pull on the plastic tab freeing the drive. Next I carefully unplugged the hard drive.
And this is where things got a little less straight forward. On the side of the hard drive there are 4 screws that are used to keep the drive snug in the mac. These however use a Torque T6, not a Phillips head. This makes them awkward to remove. Fortunately I already knew about it and had the tool needed to remove them.
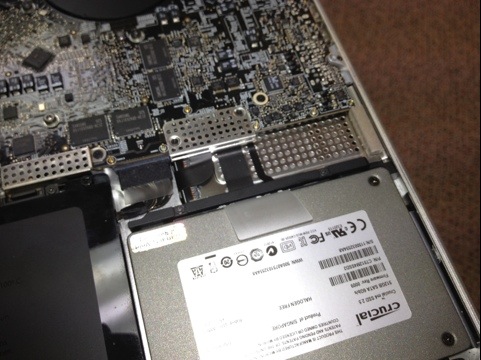
I transferred the plastic tab to the new drive (512Gb SSD) and screwed in the torque screws. Re attached the data cable and slipped the drive into place.
Re attached the clamp and the job is done. Easy. I’d rate this job as something that a novice could do.
Tips:
1. Remember anti static precautions
2. Be gentle. Forcing things will break stuff. No real force should be required for anything.
3. Use the right tools.
For this job a Phillips 00 and a torque T6 driver are all the is required.
4. Don’t drop anything. There’s nothing worse than hunting for screws.
Did it work? Currently the machine is still getting installed, but that is another story.

