Solar Powered All Sky Camera
The concept of this quite simple. Take a Camera, point it up to the sky with a wide angle lens, and make a time lapse. Publish it. Firstly, why? Each time, the time lapse of the night sky, can show meteors, satellites, the passing weather. Doing some advanced stuff, you can create statistics of cloud cover in a place.
What do I need to be able to make an All Sky Camera?
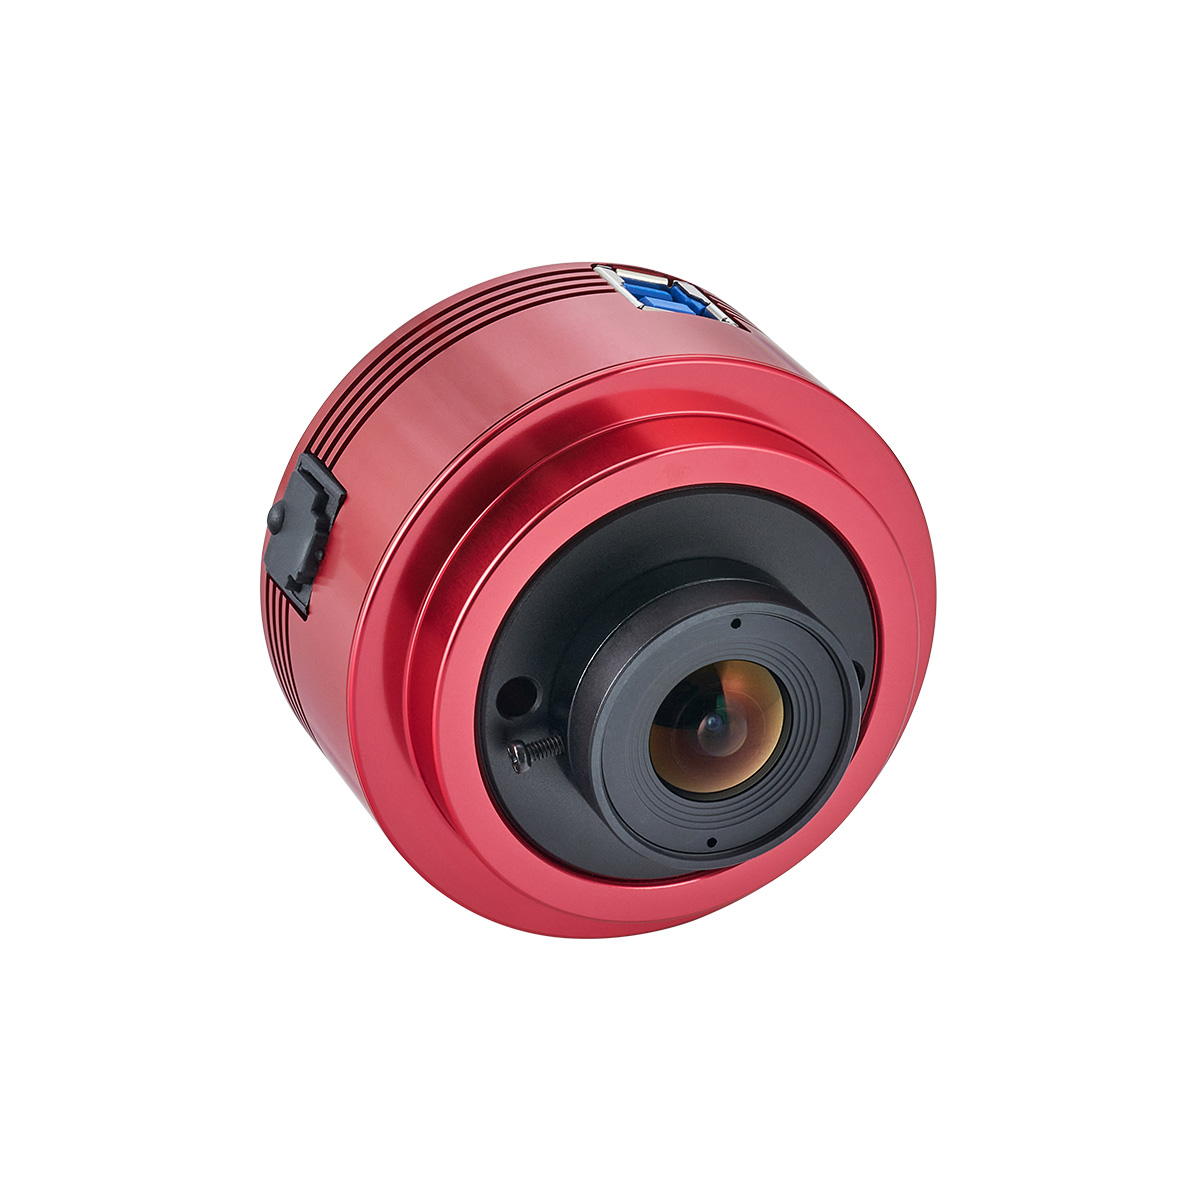
Firstly, a Camera, I’m going to use the ZWO ASI 462MC the key thing here is that I’ll be able to take images that are 1936*1096, this can easily be cropped to 1920*1080 aka full HD, which should make for some lovely time lapses.
For the computer, it’s going to connect to a Raspberry PI 4 8GB. These are very hard to get hold of at the moment, but should become available over the next 12 months. Luckily, I already have several (this website runs on one for a start)
The software for the camera will be installed from https://github.com/thomasjacquin/allsky which is a fantastic project. This will do all the hard work of capturing and compiling the images, it will also publish them to be the place of my choosing, which is awesome.
However, this is just the parting point for the project. Once thing that’s important is that the lens of the camera never gets misted up. For this, I’m going to put the camera into one of the plastic domes for CCTV cameras. That will keep the weather off, but it’ll get covered in ice on a cold night. To solve the problem, the answer is a Dew heater from dew control.
The whole thing will need to go into an enclosure of some kind. That’s another story, to be covered later.
The whole lot will be powered by a battery. What I so far is that it will be a 12v battery. However, I don’t know how much power is going to be needed to run the setup 24/7 from the battery. This also leads to the next part, the Solar charger. I don’t know how much power is going to be needed to be able to top the battery up, during the day. Think rainy winters day.
I don’t want the heater to be on 24/7, that would be a huge waste of power. So, that leads to another part of the project. Adding a temperature, and humidity sensor, so that I can keep the temperature of the plastic dome area above the Dew point.
So for this project there are going to be several parts.
- Initial construction, getting the camera setup working.
- Creating a dewpoint measurement routine
- Adding the Dew heater
- Sizing the Battery and Solar power requirements, including wiggle room for bad weather.
- Creating an enclosure for the entire setup.
- Testing and installation.